
Good embroidery placement begins on the object, not on the machine screen. A motif can sit inside the embroidery field and still look crooked on a shirt, disappear into a folded towel, or land behind a tote handle. Decide how the finished item will be worn or displayed, then mark that decision before hooping.
The reference points below are a planning method, not universal placement measurements. Shirt sizes, necklines, towel borders, and bag construction vary too much for one distance to work everywhere. Use an actual-size template, confirm the fabric can be mounted safely, and test the complete arrangement before stitching a valuable blank.
Make an actual-size placement template
Start with the final design dimensions, including any name or border you have added. Print a template from appropriate embroidery software or the design's documentation. BERNINA's marking and hooping guide recommends auditioning a printed design template, then transferring its horizontal and vertical axes to the project.[2] That gives you more information than a single guessed center dot.
If you do not have a printable design, make a simple original paper planning template: draw a rectangle with the file's exact width and height, add crossing center lines, and mark which edge is the top. This rectangle shows the bounding area, not the detailed stitch shape. For an asymmetric motif, sketch its main mass inside so you can judge visual balance.
Check the printed dimensions with a ruler rather than trusting a printer's scaling setting. A page that automatically shrinks to fit is unsuitable for judging placement. Keep the unit consistent between the file, ruler, and template. Cut around the planning area and set it on the item without permanently marking anything.
Test any removable fabric marker on a scrap or inconspicuous area and follow its removal instructions. Do not assume a mark will disappear from every fabric or survive every delay before stitching. If your fabric cannot tolerate the proposed marking or removal method, choose another documented marking method before committing to placement.
Use reference lines rather than a universal distance
Choose a stable vertical reference and a stable horizontal reference on the item. On a shirt, these might be the center front and a neckline seam. On a towel, they might be the folded center and the top of a woven border. On a tote, they might be the panel center and upper edge. Record exactly which edge you used.
Measure to a defined part of the design: its center, top edge, or bottom edge. “Below the neckline” is ambiguous if one person measures to the motif center and another measures to its top. A useful placement note names the garment size, reference seam, measurement endpoint, and design dimensions. Photograph the template in place for your own record.
| Item | Useful reference | Check in finished use |
|---|---|---|
| Shirt | Center front, neckline, placket, or pocket | How the motif sits when worn |
| Towel | Folded center, hem, and decorative border | Whether the motif remains visible when hung |
| Tote bag | Usable panel center and handle attachments | Whether handles, contents, or folds obscure it |

These references help you repeat a decision; they do not make that decision for you. Move the paper template until it looks intentional on the specific object. A visually balanced position may differ from the geometric center, especially when a motif has a heavy stitched area on one side.
Selection documentation: Clover Chacopen 5013.
Shirts: check the wearer and the garment construction
Front and chest placement
Lay the shirt flat in its natural shape without stretching it. Find the center front from the garment's construction rather than trusting a packaging crease. For a left-chest design, “left” means the wearer's left. Put the paper template on the intended side and confirm orientation before making any marks.
Try the shirt on with a safely attached paper template, or hold it against the wearer, then inspect the placement from a normal viewing distance. Remove any pins before wearing. A neckline, bust shape, or loose fit can change where the fabric hangs. Do not transfer a placement measured on one adult shirt directly to a child's shirt or another cut.
For a centered design, compare the motif with the neckline and visible center front. For a pocket-related design, decide whether it belongs above the pocket, on a detached pocket piece, or elsewhere. Do not stitch through a pocket merely because it lies under the desired coordinates; that can close the pocket. Construction access must be part of the design decision.
Keep the back of the shirt out of the stitch path
Before mounting, work out how the shirt's back and sleeves will stay clear. With tubular or small garments, a pleasing placement may be physically inaccessible on your machine. Check access before buying matching blanks for a batch. Reposition the design or choose another construction approach if you cannot expose only the intended layer safely.
For knits that may stretch in the hoop, BERNINA demonstrates hooping the stabilizer and attaching the garment to it, with a basting box to help hold the area.[3] This is a documented example of floating, not permission to leave fabric unsecured. Use a backing, adhesive, and basting method suitable for the garment and permitted by your equipment instructions.
Towels: place the design for the fold you will use
Fold the towel the way it will hang on the rack or appear in the gift package. Put the template on the visible panel, then unfold the towel and note where that panel falls. A motif centered across the full width can disappear into a side fold. Check both the folded presentation and the unfolded towel before selecting a position.
Use the hem or decorative border as a visual reference, but inspect whether that reference is straight. A purchased towel can have a slightly uneven border or hem. Decide which line should govern the design and check the template at viewing distance. Following a crooked edge exactly may make the embroidery look crooked even when your measurement is consistent.
Consider the thickness where the hoop must grip. BERNINA's project guidance distinguishes a thin woven tea towel, which can be hooped with its backing, from thick or difficult-to-hoop materials that may need a different method.[3] Do not force a thick hem or bulky border into a hoop simply to preserve a measurement chosen on paper.
Keep the design away from construction details that obstruct mounting or needle clearance. If using a topping or specialty backing, follow that product's project and removal instructions. Preview the entire design at the machine after mounting. The towel's visible center and the hoop's center need to be related deliberately; they are not automatically the same point.
Selection documentation: Sulky Solvy 486-08.
Tote bags: judge the usable panel, not the whole bag
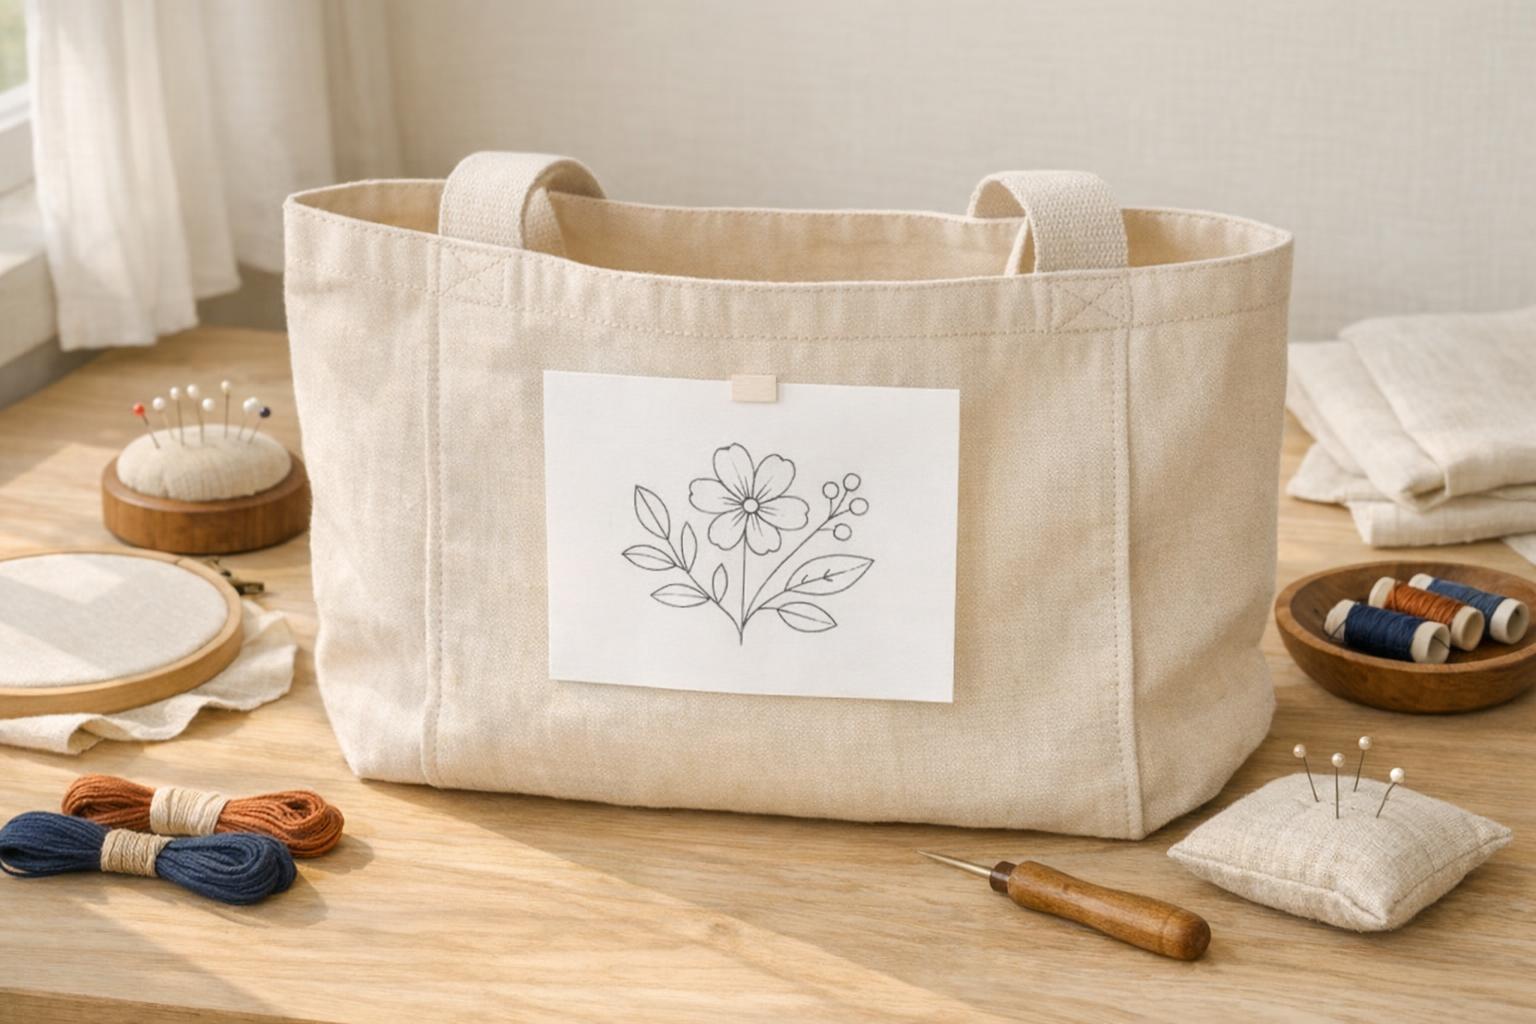
Stand the tote up and look at it both empty and lightly filled. Handles, boxed corners, seams, and the opening can change the visible front. Place the template within the panel that remains readable during use. A design exactly centered between the top and bottom edges may look too low once the bag's base folds under.
Check the inside before marking. A lining or interior pocket can become trapped behind the front panel, and a closed bag may not open wide enough for the required hoop motion. BERNINA's tote example notes the practical challenge of working inside a tube and uses adhesive stabilizer with basting.[3] Your bag and machine still need their own access check.
If you are sewing the tote yourself, consider embroidering the flat panel before assembly. Mark the future seam lines and handle attachment areas on the planning template so the design will remain where intended after construction. This is a workflow option, not a requirement for every tote. An existing bag may call for a smaller design or a different blank instead.
For a set of bags, approve one sample before marking the entire stack. Compare the actual panels rather than assuming all blanks are identical. Keep your successful template, measurements, and a photograph together, but recheck each bag for seam differences and handle placement.
Transfer the placement to the hoop and machine
Match the project's marked axes with the hoop template's axes using the procedure for your hoop. BERNINA's guide describes aligning the plastic template with the marked fabric and then checking orientation and fit with the machine's layout features.[2] Remove paper and plastic templates before stitching, along with any placement aids that could enter the needle path.
Choose a compatible hoop that accommodates the full design. BERNINA recommends a hoop close to the design's size when multiple suitable hoops are available.[2] Our embroidery design fit calculator can help compare dimensions, but it cannot confirm bag access, thick seams, hoop attachment, or safe movement around the garment.
Use the machine's documented position or boundary-check function, if available, before sewing. Confirm the top of the design faces the intended edge and that the complete layout stays within the usable field. Keep hands clear of moving parts. Arrange excess fabric so it cannot slide back into the stitch area or drag on the moving hoop.
A final placement check before pressing start
Pause and read your own placement note: item and size, chosen reference, endpoint, design dimensions, and orientation. Look underneath the hoop for trapped fabric. Confirm the hoop is attached as the manual requires and that the material is secure without distortion. If you had to stretch the shirt to reach the chosen position, remove it and reconsider the setup.
Stitch a representative sample before a gift, uniform batch, or expensive bag. Evaluate it outside the hoop and in its intended use, not just on the machine bed. Save what worked, including the mounting method and stabilizer. Repeatable placement comes from a clear reference and a verified setup, rather than a chart that promises one measurement will fit every item.
Selection documentation: Sulky Sticky Fabri-Solvy 457-02.
Sources and scope
Sources checked September 10, 2026. Manufacturer instructions are model-specific. This guide is editorial research, not a hands-on product test. Your current model manual takes precedence.