
Choose embroidery stabilizer by the fabric, the design, and what must remain after finishing. A stretchy shirt needs a different plan from a flat woven panel, and a towel may need both support underneath and a topping over its loops. The removal method matters just as much: a backing that requires washing is a poor choice when the blank cannot tolerate the required water treatment.
Start with the manufacturer's instructions for the exact stabilizer, then stitch a representative sample. The recommendations below are starting points grounded in Sulky product guidance and a Brother operation manual. They are not universal recipes or results from our own product testing. Fabric weight, stitch density, handling, and the desired feel of the finished back still need evaluation.
Backing and topping are different decisions
A backing supports the work from underneath. A topping addresses the surface above the fabric. Sulky labels Soft 'n Sheer as a permanent backing and Solvy as a temporary topping.[6][8] Buying a transparent film because it is called stabilizer does not establish that it can replace the support needed beneath a dense design.
For napped fabrics such as towels, Sulky recommends Solvy on top to keep loops or pile from poking through and to help prevent stitches from disappearing into the surface.[8] Brother's PE545 manual likewise recommends water-soluble stabilizer on the top surface of thick terry towels.[10] Those recommendations do not remove the need to choose backing for the underlying project.
Plan the two layers separately in your notes. Write down what each is supposed to do and how you will remove or finish it. If you cannot explain why a layer is present, consult the product directions before adding it. More material is not a substitute for understanding the setup.
The main removal categories
Cut-away: support that remains
Sulky describes Soft 'n Sheer as a lightweight permanent backing for lightweight knits and woven fabrics, intended to remain with the fabric through laundering and wearing. Excess is cut away after embroidery.[6] That makes permanent support a useful category to investigate for a knit shirt, rather than choosing solely for the cleanest-looking back before washing.
Permanent backing is part of the finished object. Consider whether it shows through light fabric, how it feels against skin, and whether its edge changes the way the garment drapes. Evaluate those qualities on a finished sample. Do not assume that a product described as soft will be invisible or comfortable in every design and garment combination.
Tear-away: support with removable excess
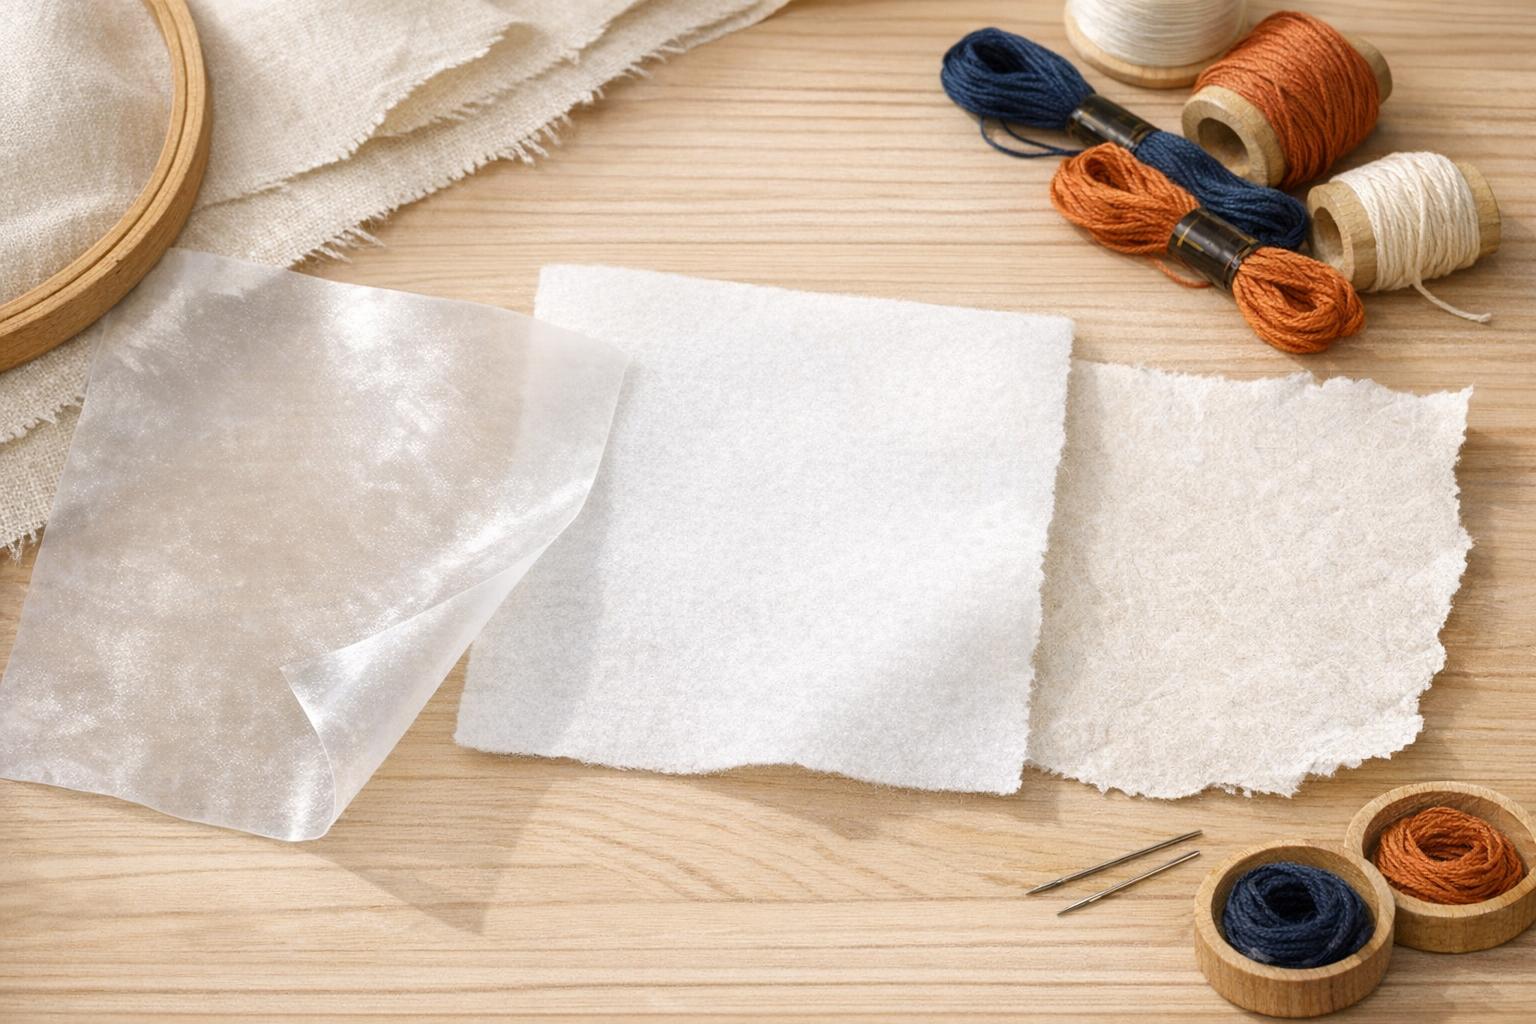
Sulky describes Tear-Easy as a temporary backing removed by tearing and says to remove layers one at a time. Its directions also describe supporting the stitching with your fingers during removal and combining it with permanent stabilizers when the fabric calls for that.[7] The category name alone does not prescribe a universal number of layers.
Tear-away is a candidate to evaluate when you want removable support without a wet or heated removal process. Sulky specifically identifies that use for Tear-Easy.[7] Check that the fabric and design tolerate the removal step; convenience at the cutting table is not enough if the stitches or fabric distort when the excess is pulled away.
Wash-away: distinguish light film from structural support
Water-soluble products are not all interchangeable. Sulky warns that lightweight Solvy and Super Solvy used beneath machine embroidery do not support as many stitches as tear-away or cut-away stabilizers.[8] A thin topping film should therefore not be treated as a general replacement for the backing recommended by a design's instructions.
For computerized lace embroidery, Sulky describes Ultra Solvy as an extra-heavy water-soluble stitching support.[9] Use that as a reason to investigate a lace-appropriate product, not as permission to stitch any ordinary motif without fabric. Follow the instructions for a design specifically intended for that technique and test its prescribed finishing process. For the fabric matrix below, Soft ’n Sheer is a permanent cut-away candidate for suitable lightweight knits and wovens; it is not the wash-away lace support just described. [Manufacturer documentation]
Selection documentation: Sulky Soft ’n Sheer 235-12.
A fabric and project starting-point matrix
This matrix separates manufacturer recommendations from editorial starting points. Where a row suggests an evaluation rather than a specific manufacturer's fabric recipe, it says so. Check the current package directions and use the actual design before committing the finished blank.
| Fabric or project | Starting point to investigate | What to verify |
|---|---|---|
| Lightweight knit shirt | Permanent cut-away backing; Sulky lists lightweight knits for Soft 'n Sheer.[6] | Support after washing, visibility, and the feel against skin. |
| Lightweight woven fabric | Soft permanent backing is a documented option in Sulky's Soft 'n Sheer guidance.[6] | Whether the remaining backing suits the fabric's drape and intended use. |
| Stable woven panel with a modest design | Evaluate tear-away as an editorial starting point, using Sulky's removable-backing directions and selector.[7][5] | Design density, removal without distortion, and whether permanent support is needed. |
| Terry towel | Water-soluble topping over the nap, plus separately selected backing.[8][10] | Loop coverage, backing support, and permitted removal and laundering. |
| Computerized lace without a fabric base | Design-specified water-soluble support; Sulky describes Ultra Solvy for computerized lace.[9] | The design is intended for lace, and its finishing instructions match the product. |
| Blank that cannot be wetted or heated | Investigate tear-away where the fabric and design permit; Sulky lists non-wet, non-heat removal for Tear-Easy.[7] | Care-label restrictions and whether removal leaves an acceptable result. |
Do not decide from fiber content alone. "Cotton" might describe a woven panel, a stretchy knit shirt, or a looped towel. Record the fabric construction and surface as well as the fiber. Sulky's selector asks for both a technique and a fabric, and it separates computerized embroidery into different density categories.[5]
Let the design influence the support plan
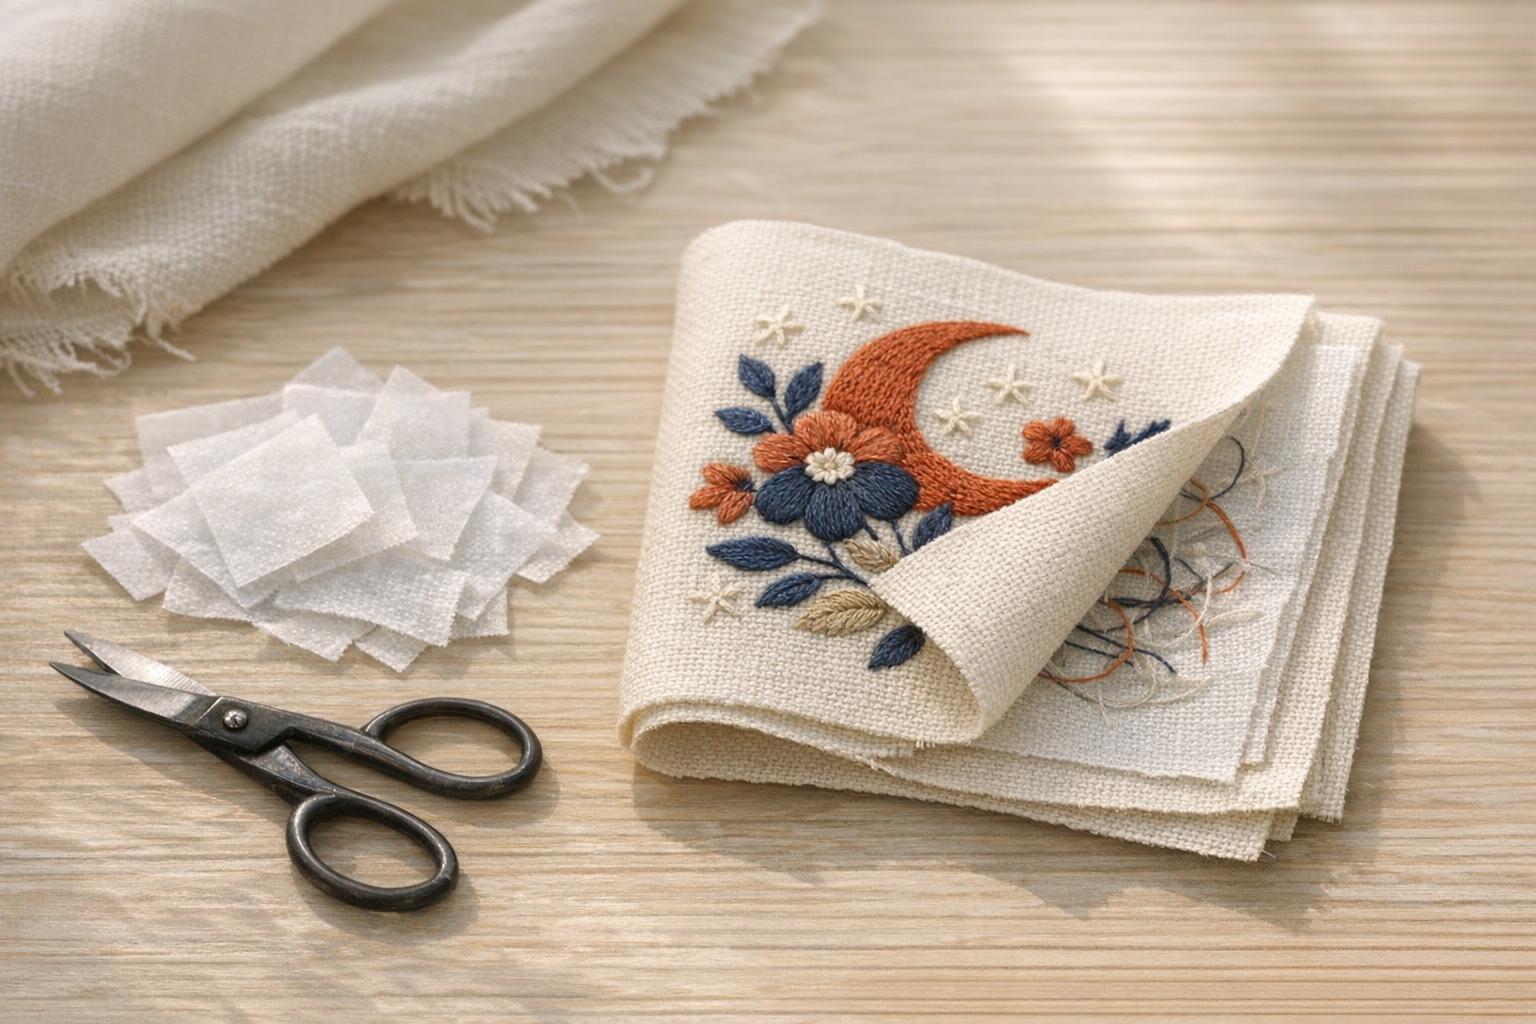
Read the design instructions for recommended backing, fabric, and any special construction steps. A light outline and a densely filled motif on the same blank should not automatically inherit the same setup. Sulky's separate density categories are a useful reminder to include the embroidery itself in the material decision.[5]
If a seller provides several sizes, test the one you intend to stitch. Keep the original file unchanged for your first stabilizer comparison. Editing the design while switching backing makes it harder to determine which change caused a difference. Record the exact file version beside the material names so you can reproduce the sample later.
There is no universal layer count in this guide. Sulky describes layering Tear-Easy and sometimes combining it with permanent stabilizers, but ties those options to the fabric and project.[7] Begin with the relevant instructions. If a test needs more support, change one documented part of the setup rather than stacking random scraps under the hoop.
Selection documentation: New brothread.
Check heat, water, and adhesive before use
Read the removal and application directions before the stabilizer touches the blank. A fusible product requires a heat-compatible project and the prescribed application method. A water-soluble product requires a compatible removal process. If the garment care label and stabilizer directions conflict, choose another supported method or ask the manufacturers before proceeding.
Do not assume that all cut-away products can be ironed the same way. Sulky warns that Soft 'n Sheer does not tolerate a hot iron.[6] That product-specific limitation is more useful than a generic instruction to press every backing onto every fabric. Keep the original packaging so its identity and cautions remain available.
If a setup uses adhesive, confirm both its fabric suitability and its application instructions. Avoid adding sprays merely because another project used them. Test for visible residue or an unwanted change in feel on representative material, and keep chemicals away from machine parts unless the relevant directions explicitly permit that use.
Run a sample through the whole finishing process
- Use the intended fabric or a genuinely comparable piece, with the same surface and stretch behavior.
- Record the exact backing, topping, design version, needle, threads, and hooping method.
- Prepare the sample using the machine manual and stabilizer instructions, without stretching the fabric out of shape.
- Stitch the intended design and stop for mechanical warnings or unusual behavior.
- Remove the sample from the hoop and finish the stabilizer as directed.
- Complete any permitted washing, drying, or pressing that the finished project will receive, then inspect again.
Sulky's selector explicitly tells users to test first even though its recommendations come from its own experts.[5] A useful test includes the removal stage and the intended care process. Looking only at a hooped sample leaves unanswered questions about the back, the drape, and the appearance after finishing.
When a sample disappoints, inspect more than backing
Record what you see: ripples around the motif, visible support through the front, stitches lost in pile, or a back that feels too firm. Those observations point to questions, not automatic diagnoses. Compare the result with the design and stabilizer directions before purchasing a different material.
The PE545 manual identifies stabilizer and hooping as factors in embroidery results, but also discusses needle and thread suitability. Its troubleshooting pages list threading and needle problems among possible causes of puckering or poor stitching.[10] Changing backing alone may not address a preparation error elsewhere.
Return to the first-project setup checklist if the baseline setup is uncertain. Verify the thread path, approved supplies, and secure, undistorted hooping according to your own manual. Save the unsuccessful sample with notes; it is more informative than a memory that one product simply did not work.
Selection documentation: Sulky Solvy 486-08.
Buy a small, identifiable set of supplies
Choose stabilizers for the projects you have planned rather than collecting every removal category at once. Keep rolls labeled and store them according to their directions. An anonymous offcut is difficult to use safely when you no longer know whether it dissolves, tolerates heat, or remains in the finished fabric.
For each repeat project, keep the successful sample and its exact material record. Recheck when the blank, design, or backing changes. The aim is a documented combination that suits your project after finishing, not a universal stabilizer recipe that promises to solve every embroidery problem.